在iOS開發的Quartz2D使用中實現圖片剪切和截屏功能
圖片剪切
一、使用Quartz2D完成圖片剪切
1.把圖片顯示在自定義的view中
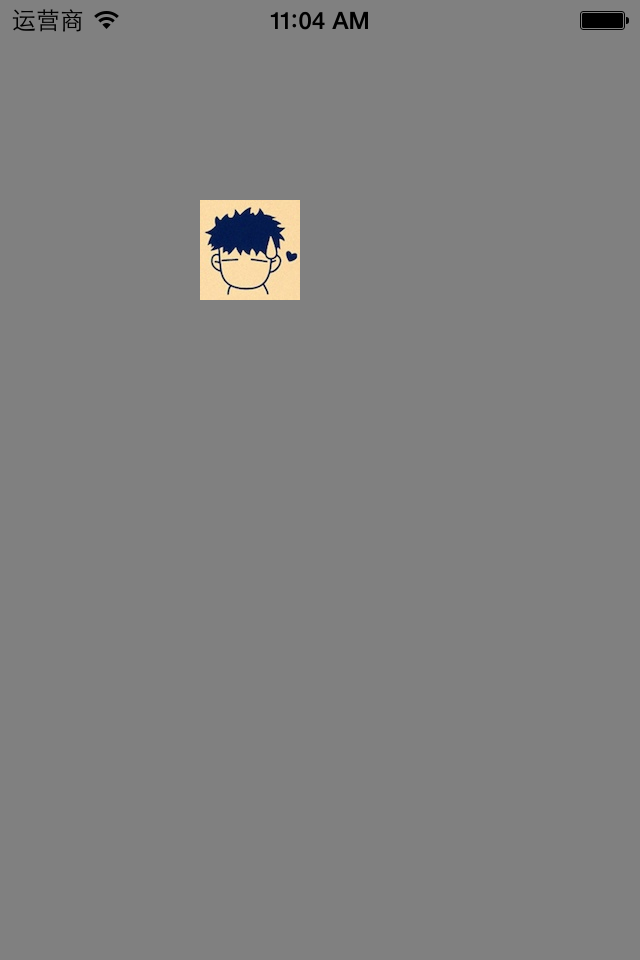
先把圖片繪制到view上。按照原始大小,把圖片繪制到一個點上。
代碼:
代碼如下:
- (void)drawRect:(CGRect)rect
{
UIImage *image2=[UIImage imageNamed:@"me"];
[image2 drawAtPoint:CGPointMake(100, 100)];
}
顯示:
2.剪切圖片讓圖片圓形展示
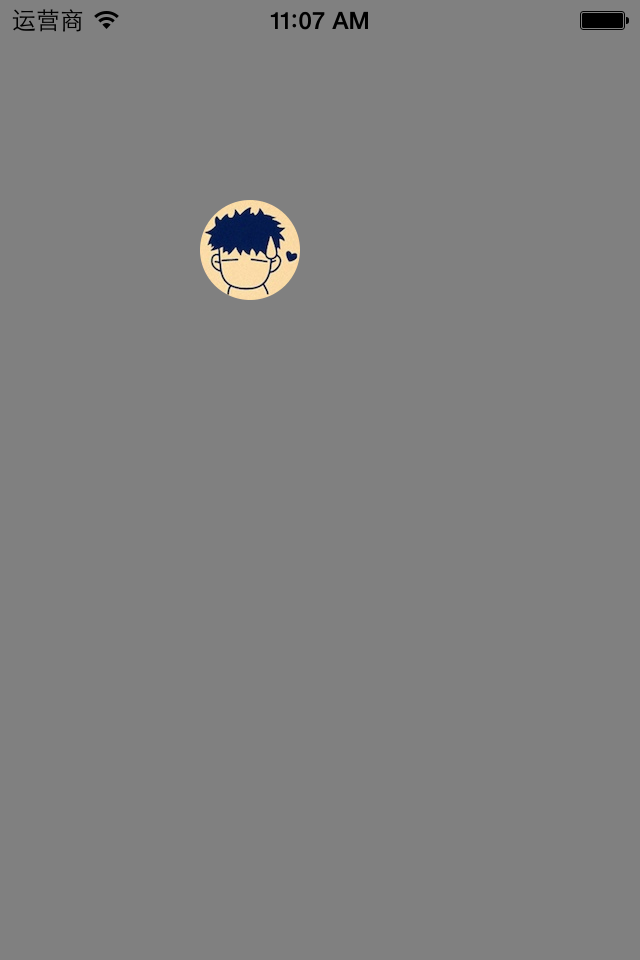
思路:先畫一個圓,讓圖片顯示在圓的內部,超出的部分不顯示。
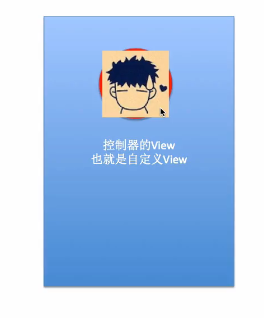
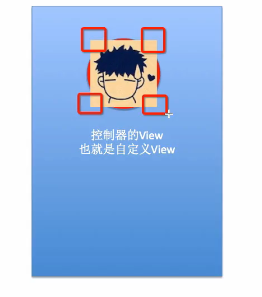
注意:顯示的范圍只限於指定的剪切范圍,無論往上下文中繪制什麼東西,只要超出了這個范圍的都不會顯示。
代碼:
代碼如下:
- (void)drawRect:(CGRect)rect
{
//畫圓,以便以後指定可以顯示圖片的范圍
//獲取圖形上下文
CGContextRef ctx=UIGraphicsGetCurrentContext();
CGContextAddEllipseInRect(ctx, CGRectMake(100, 100, 50, 50));
//指定上下文中可以顯示內容的范圍就是圓的范圍
CGContextClip(ctx);
UIImage *image2=[UIImage imageNamed:@"me"];
[image2 drawAtPoint:CGPointMake(100, 100)];
}
顯示:
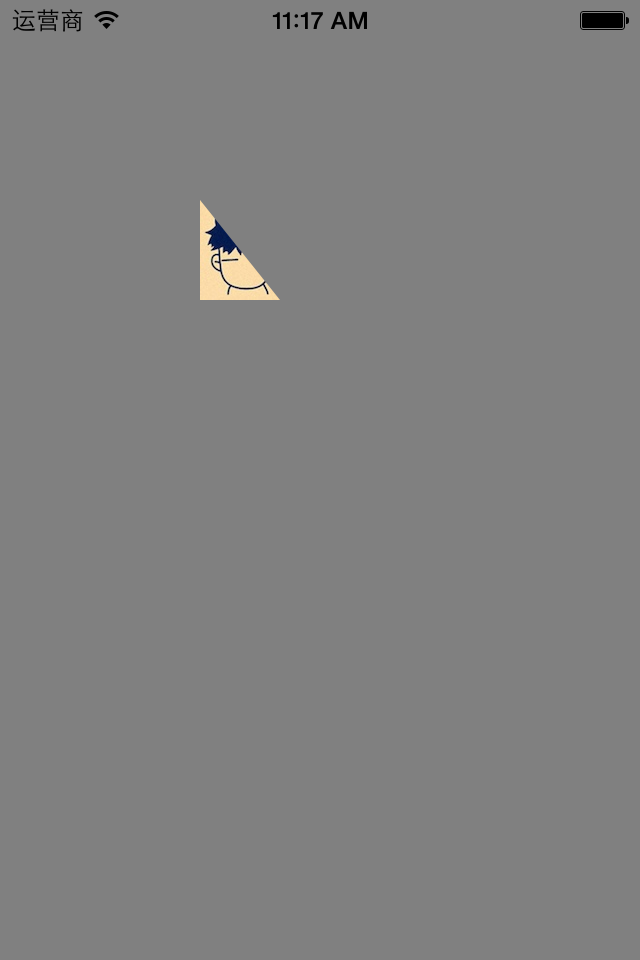
3.剪切圖片讓圖片三角形展示
代碼:
代碼如下:
- (void)drawRect:(CGRect)rect
{
//畫三角形,以便以後指定可以顯示圖片的范圍
//獲取圖形上下文
CGContextRef ctx=UIGraphicsGetCurrentContext();
// CGContextAddEllipseInRect(ctx, CGRectMake(100, 100, 50, 50));
CGContextMoveToPoint(ctx, 100, 100);
CGContextAddLineToPoint(ctx, 60, 150);
CGContextAddLineToPoint(ctx, 140, 150);
CGContextClosePath(ctx);
//注意:指定范圍(也就是指定剪切的方法一定要在繪制范圍之前進行調用)
//指定上下文中可以顯示內容的范圍就是圓的范圍
CGContextClip(ctx);
UIImage *image2=[UIImage imageNamed:@"me"];
[image2 drawAtPoint:CGPointMake(100, 100)];
}
顯示:
截屏
一、簡單說明
在程序開發中,有時候需要截取屏幕上的某一塊內容,比如捕魚達人游戲。如圖:

二、代碼示例
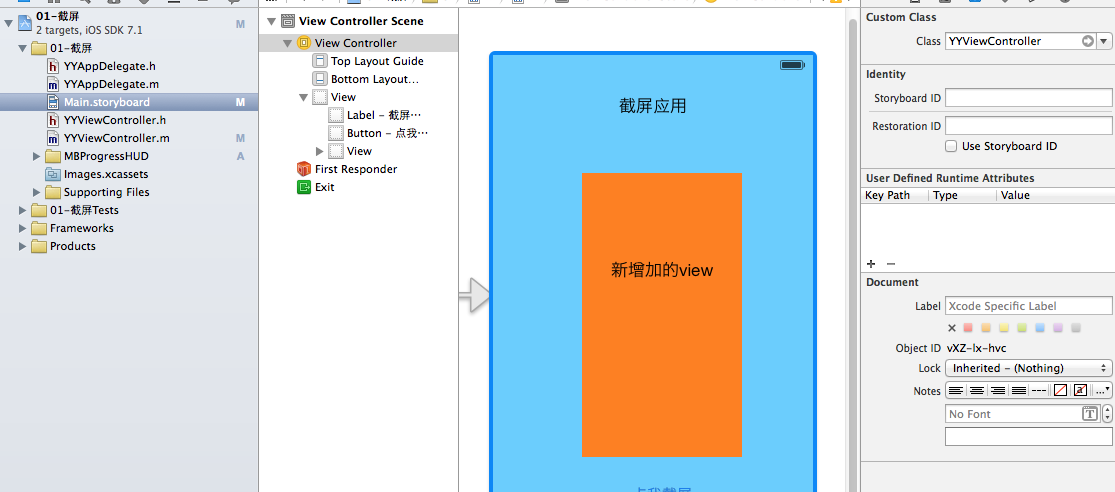
storyboard界面搭建
代碼:
代碼如下:
//
// YYViewController.m
// 01-截屏
//
// Created by apple on 14-6-12.
// Copyright (c) 2014年 itcase. All rights reserved.
//
#import "YYViewController.h"
#import "MBProgressHUD+NJ.h"
@interface YYViewController ()
@property (weak, nonatomic) IBOutlet UIView *contentView;
- (IBAction)BtnClick:(UIButton *)sender;
@end
代碼如下:
@implementation YYViewController
- (void)viewDidLoad
{
[super viewDidLoad];
}
- (IBAction)BtnClick:(UIButton *)sender {
//延遲兩秒保存
dispatch_after(dispatch_time(DISPATCH_TIME_NOW, (int64_t)(2.0 * NSEC_PER_SEC)), dispatch_get_main_queue(), ^{
//獲取圖形上下文
// UIGraphicsBeginImageContext(self.view.frame.size);
UIGraphicsBeginImageContext(self.contentView.frame.size);
//將view繪制到圖形上下文中
// [self.view.layer renderInContext:UIGraphicsGetCurrentContext()];
[self.contentView.layer renderInContext:UIGraphicsGetCurrentContext()];
//將截屏保存到相冊
UIImage *newImage=UIGraphicsGetImageFromCurrentImageContext();
UIImageWriteToSavedPhotosAlbum(newImage,self, @selector(image:didFinishSavingWithError:contextInfo:), nil);
});
}
- (void)image:(UIImage *)image didFinishSavingWithError:(NSError *)error contextInfo:(void *)contextInfo
{
if (error) {
[MBProgressHUD showError:@"保存失敗,請檢查是否擁有相關的權限"];
}else
{
// [MBProgressHUD showMessage:@"保存成功!"];
[MBProgressHUD showSuccess:@"保存成功!"];
}
}
@end
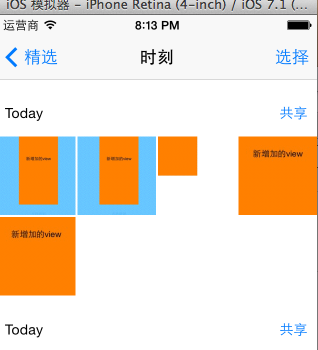
把截取的圖片保存到手機的相冊中:
說明:把整個屏幕畫到一張圖片裡
1.創建一個bitmap的上下文
2.將屏幕繪制帶上下文中
3.從上下文中取出繪制好的圖片
4.保存圖片到相冊
補充:把圖片寫入到文件的代碼
代碼如下:
//3.從上下文中取出繪制好的圖片
UIImage *newImage = UIGraphicsGetImageFromCurrentImageContext();
NSData *data = UIImagePNGRepresentation(newImage);
NSString *path = [[NSSearchPathForDirectoriesInDomains(NSDocumentDirectory, NSUserDomainMask, YES) lastObject] stringByAppendingPathComponent:@"abc.png"];
NSLog(@"%@", path);
[data writeToFile:path atomically:YES];
三、補充
保存成功和保存失敗之後應該做些事情?
系統推薦的方法:
代碼如下:
- (void)image:(UIImage *)image didFinishSavingWithError:(NSError *)error contextInfo:(void *)contextInfo
{
if (error) {
[MBProgressHUD showError:@"保存失敗,請檢查是否擁有相關的權限"];
}else
{
// [MBProgressHUD showMessage:@"保存成功!"];
[MBProgressHUD showSuccess:@"保存成功!"];
}
}
如果圖片成功保存的話,那麼就提示保存成功。
如果保存失敗,那麼提示失敗
提示:保存失敗常見有兩個原因:1是內存不夠,2是手機內部的權限不允許。
說明:如果當一個應用程序想要訪問通訊錄或相冊,用戶已經明確拒絕過,那麼以後再要訪問的話會直接拒絕。這個時候,可以提示用戶去開啟權限。


