iphone6 plus手勢截圖怎麼用?iphone6手勢截圖使用教程
編輯:IOS7技巧
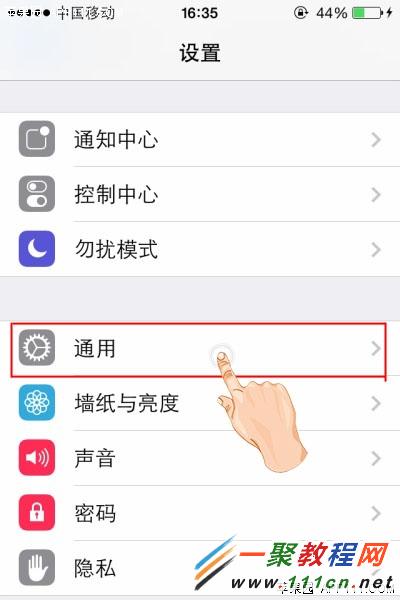 然後在打開的“通用” 我們再找到“輔助功能”之後再點擊打開它就可以了。
 然後我們在進入到了iphone6 plus界面中會看到有一個“輔助功能”如下圖所示“Assistive Touch”選項。
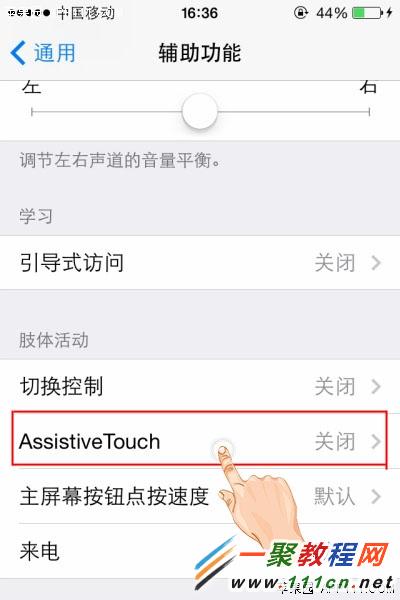 然後我們在打開 “Assistive Touch” 我們在這裡面會看到有“Assistive Touch”功能後,屏幕上會出現小圓點。
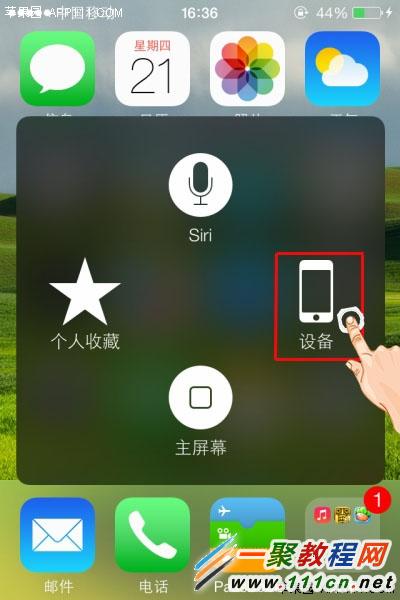
 第二步,好了現在我們 然後再找到 需要截屏的界面,點擊“設備”按鈕。
 第三步,然後我們會看到裡邊有一個“更多”選項。
 第四步,現在我們再點擊更多裡面的“屏幕快照”,即可成功進行屏幕截圖。
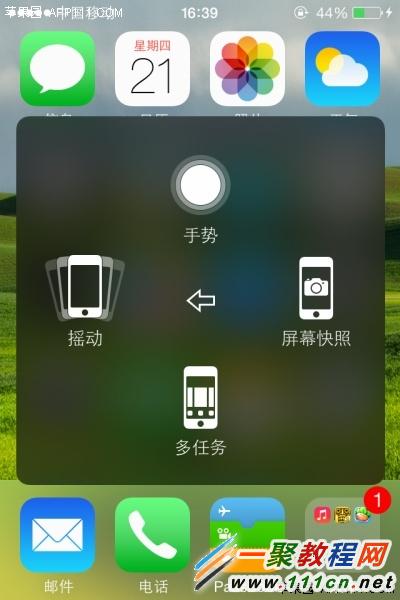
好了利用這個截圖的照片也是放在蘋果手機相冊中哦


相關文章
+- iOS獲得以後裝備型號等信息(全)包括iPhone7和iPhone7P
- xcode8提交ipa掉敗沒法構建版本成績的處理計劃
- Objective-C 代碼與Javascript 代碼互相挪用實例
- iOS開辟之UIPickerView完成城市選擇器的步調詳解
- iPhone/iPad開辟經由過程LocalNotification完成iOS准時當地推送功效
- iOS法式開辟之應用PlaceholderImageView完成優雅的圖片加載後果
- iOS Runntime 靜態添加類辦法並挪用-class_addMethod
- iOS開辟之用javascript挪用oc辦法而非url
- iOS App中挪用iPhone各類感應器的辦法總結
- 實例講授iOS中的UIPageViewController翻頁視圖掌握器
- IOS代碼筆記UIView的placeholder的後果
- iOS中應用JSPatch框架使Objective-C與JavaScript代碼交互
- iOS中治理剪切板的UIPasteboard粘貼板類用法詳解
- iOS App開辟中的UIPageControl分頁控件應用小結
- 詳解iOS App中UIPickerView轉動選擇欄的添加辦法