一行代碼實現headView彈簧拉伸效果
編輯:IOS技巧綜合

前言
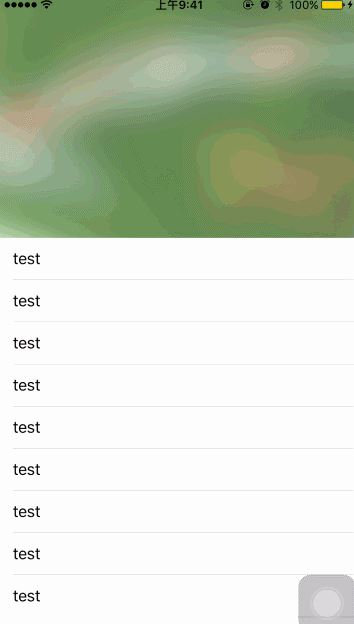
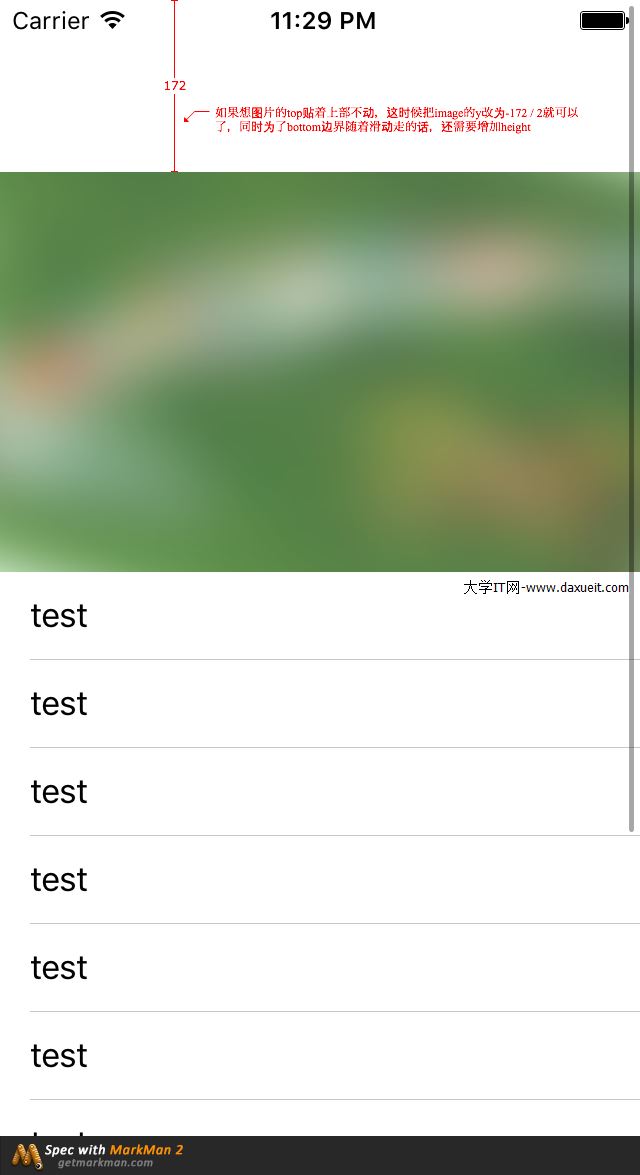
很多app的個人中心上部的headView都實現了彈簧拉伸的效果,即tableView的top並不隨著下拉而滑動,而是緊緊的停在屏幕的最上方。
我們今天就分析一下這個效果的實現方式。
分析

關鍵代碼
- (void)viewDidLoad {
    [super viewDidLoad];
    [self.view addSubview:self.tableView];

    self.headView.bounds = CGRectMake(0, 0, self.tableView.bounds.size.width, 200);
    self.tableView.tableHeaderView = self.headView;
    self.topImageView.frame = self.headView.bounds;
    [self.headView addSubview:self.topImageView];

    //在viewDidLoad方法中記錄原始的y和height
    self.originY = self.topImageView.y;
    self.originHeight = self.topImageView.height;
}


#pragma mark - UIScrollViewDelegate
- (void)scrollViewDidScroll:(UIScrollView *)scrollView{
    CGFloat offy = scrollView.contentOffset.y;
    if (offy < 0) {
        self.topImageView.y = offy;
        self.topImageView.height = self.originHeight - offy;
    }else{
        self.topImageView.y = self.originY;
        self.topImageView.height = self.originHeight;
    }
}
ok,到此你已經實現了headView的彈簧效果了!
多想一步,進一步優化
雖然上面已經實現了功能所需,但是這個效果的代碼跟項目耦合在一起的,不能復用。每次實現這個效果,都要寫一遍上面的代碼。不能忍啊,我們進一步優化!
我們創建一個名為UIScrollView+SpringHeadView.h的UIScrollView的分類
UIScrollView+SpringHeadView類中的實現方法如下
//UIScrollView+SpringHeadView.h的內容
#import <UIKit/UIKit.h>
//headView 的高度
#define SpringHeadViewHeight 200

@interface UIScrollView (SpringHeadView)<UIScrollViewDelegate>
//在分類增加了屬性,這個是利用runtime實現的
@property (nonatomic, weak) UIView *topView;
- (void)addSpringHeadView:(UIView *)view;
@end
//UIScrollView+SpringHeadView.m的內容
- (void)setTopView:(UIView *)topView{
[self willChangeValueForKey:@"SpringHeadView"];
objc_setAssociatedObject(self, &UIScrollViewSpringHeadView,
topView,
OBJC_ASSOCIATION_ASSIGN);
[self didChangeValueForKey:@"SpringHeadView"];
}
- (UIView *)topView{
return objc_getAssociatedObject(self, &UIScrollViewSpringHeadView);
}
- (void)addSpringHeadView:(UIView *)view{
self.contentInset = UIEdgeInsetsMake(view.bounds.size.height, 0, 0, 0);
[self addSubview:view];
view.frame = CGRectMake(0, -view.bounds.size.height, view.bounds.size.width, view.bounds.size.height);
self.topView = view;
//使用kvo監聽scrollView的滾動
[self addObserver:self forKeyPath:@"contentOffset" options:NSKeyValueObservingOptionNew context:nil];
}
- (void)observeValueForKeyPath:(NSString *)keyPath ofObject:(id)object change:(NSDictionary *)change context:(void *)context
{
[self scrollViewDidScroll:self];
}
- (void)scrollViewDidScroll:(UIScrollView *)scrollView{
CGFloat offy = scrollView.contentOffset.y;
if (offy < 0) {
self.topView.frame = CGRectMake(0, offy, self.topView.bounds.size.width, -offy);
}
}現在我們使用起來爽了,只要需要引入UIScrollView+SpringHeadView.h,一行代碼就能實現彈簧的效果啦!
//引入分類
#import "UIScrollView+SpringHeadView.h"

- (void)viewDidLoad {
    [super viewDidLoad];
    [self.view addSubview:self.tableView];

    self.topImageView.frame = CGRectMake(0, 0, self.tableView.bounds.size.width, SpringHeadViewHeight);
    //只需要一行代碼,就能實現同樣效果
    [self.tableView addSpringHeadView:self.topImageView];
}相關文章
+- 馬上賺錢怎麼注冊?馬上賺錢注冊流程介紹[多圖]
- 有了這款配件 iPhone 6也能插網線上網
- iOS 事件處理之UIResponder簡介
- iOS9.2-iOS9.3.3怎麼越獄 iOS9.2-iOS9.3.3完美越獄教程
- 8個實用技巧提升蘋果iOS8電池續航省電能力圖文教程![多圖]
- iPhone原裝Lightning數據線太容易壞了 替換iPhone數據線的流程
- 升級iOS9.0.2發熱耗電怎麼解決?升級iOS9.0.2發熱耗電解決辦法
- 避免被坑:最全二手蘋果iPhone鑒別購買指南
- 蘋果iOS8降低iphone5s的ISO問題實測+網絡支持流暢度小測[多圖]
- iPhone怎麼設置自動鎖屏時間?蘋果自動鎖屏設置教程


