iOS TableView給力動畫的簡單實現(一)
編輯:IOS開發基礎

授權轉載,作者:判若兩人丶 (Github)
前言
之前看見過很多動畫, 都非常炫酷, 所以想弄一些比較簡單的動畫, 以後再項目中可能會用到, 以後還會持續更新類似的動畫效果!
GitHub下載地址: LRTableViewRollAnimation
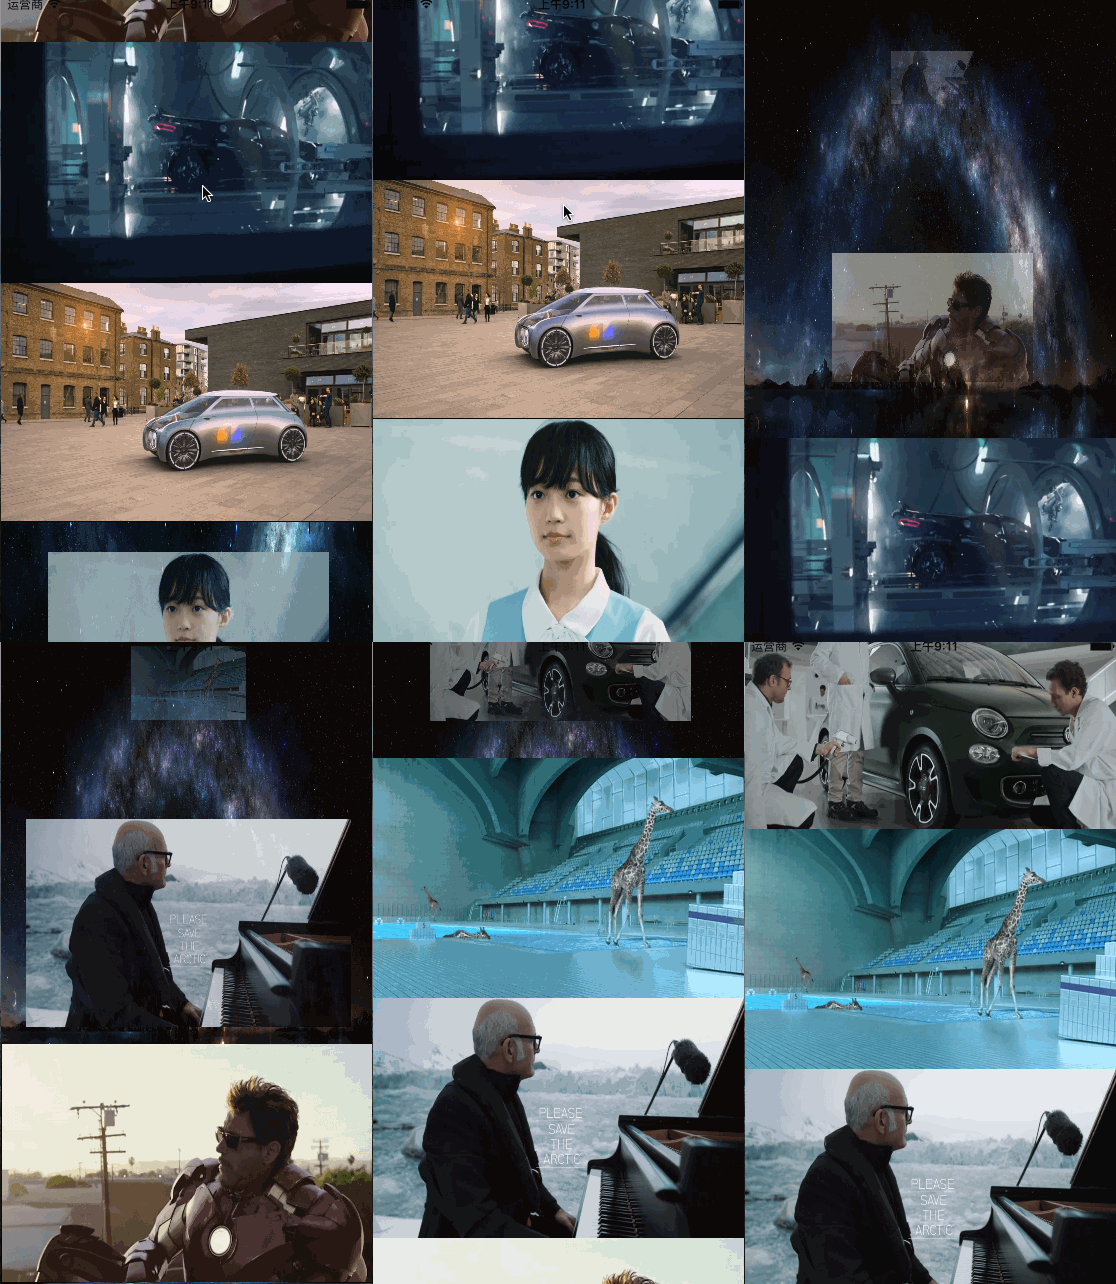
效果圖:


代碼實現
首先我們要在cell中實現一個方法:
+ (instancetype)cellFromXib:(UITableView *)tableView cellAnchorPoint:(CGPoint)cellAnchorPoint angle:(CGFloat)angle;
{
    LRAnimationCell *cell = [tableView dequeueReusableCellWithIdentifier:LRCellId];
    if (!cell) {
        cell = [[[NSBundle mainBundle] loadNibNamed:NSStringFromClass(self) owner:nil options:nil] lastObject];
    }
    //動畫設置
    CATransform3D transform = CATransform3DMakeRotation(angle, 0.0, 0.5, 0.3);
    transform.m34 = -1.0/500.0; // 設置透視效果
    cell.layer.transform = transform;
    //錨點
    cell.layer.anchorPoint = cellAnchorPoint;
    [UIView animateWithDuration:0.6 animations:^{
        cell.layer.transform = CATransform3DIdentity;
    }];
    return cell;
}
我們來簡單解釋下transform.m34 = -1.0/500.0;屬性的設置
在CATransform3D中
// m34:實現透視效果(意思就是:近大遠小), 它的值默認是0, 這個值越小越明顯
/* Homogeneous three-dimensional transforms. */
 struct CATransform3D
     {
     CGFloat m11, m12, m13, m14;
     CGFloat m21, m22, m23, m24;
     CGFloat m31, m32, m33, m34;
     CGFloat m41, m42, m43, m44;
     };
     typedef struct CATransform3D CATransform3D;
我們要在ViewController中添加幾個屬性:
@property (nonatomic, assign) CGFloat lastScrollOffset;
/**設置cell角度 */
@property (nonatomic, assign) CGFloat angle;
/**設置cell錨點 */
@property (nonatomic, assign) CGPoint cellAnchorPoint;
在TableView的代理中實現+ (instancetype)cellFromXib:(UITableView *)tableView cellAnchorPoint:(CGPoint)cellAnchorPoint angle:(CGFloat)angle;方法:
- (UITableViewCell *)tableView:(UITableView *)tableView cellForRowAtIndexPath:(NSIndexPath *)indexPath
{
    LRAnimationCell *cell = [LRAnimationCell cellFromXib:tableView cellAnchorPoint:_cellAnchorPoint angle:_angle];
    cell.backgroundImage.image = LRGetImage(indexPath.row + 1);
 return cell;
}
最後實現
//滾動監聽
- (void)scrollViewDidScroll:(UIScrollView *)scrollView
{
    if (scrollView != self.tableView) return;
    CGFloat y = scrollView.contentOffset.y;
    if (y > _lastScrollOffset) {//用戶往上拖動
        // x=0 y=0 左
        // x=1 y=0 -angle 右
        _angle = - kAngle;
        _cellAnchorPoint = CGPointMake(1, 0);
    } else {//用戶往下拖動
        // x=0 y=1 -angle 左
        // x=1 y=1 右
        _angle =  - kAngle;
        _cellAnchorPoint = CGPointMake(0, 1);
    }
    //存儲最後的y值
    _lastScrollOffset = y;
}
動畫的方向需要根據自己喜好去設置:
 x,y值為:  _cellAnchorPoint = CGPointMake(x, y);
 -angle值為:  _angle =  - kAngle;
//用戶往下拖動時候動畫出現的初始位置:
 左邊位置:  x=0 y=1 -angle
 右邊位置: x=1 y=1
//用戶往上拖動時候動畫出現的初始位置:
  左邊位置: x=0 y=0
  右邊位置: x=1 y=0 -angle
//在中心點翻轉設置:
  x=0.5 y=0.5
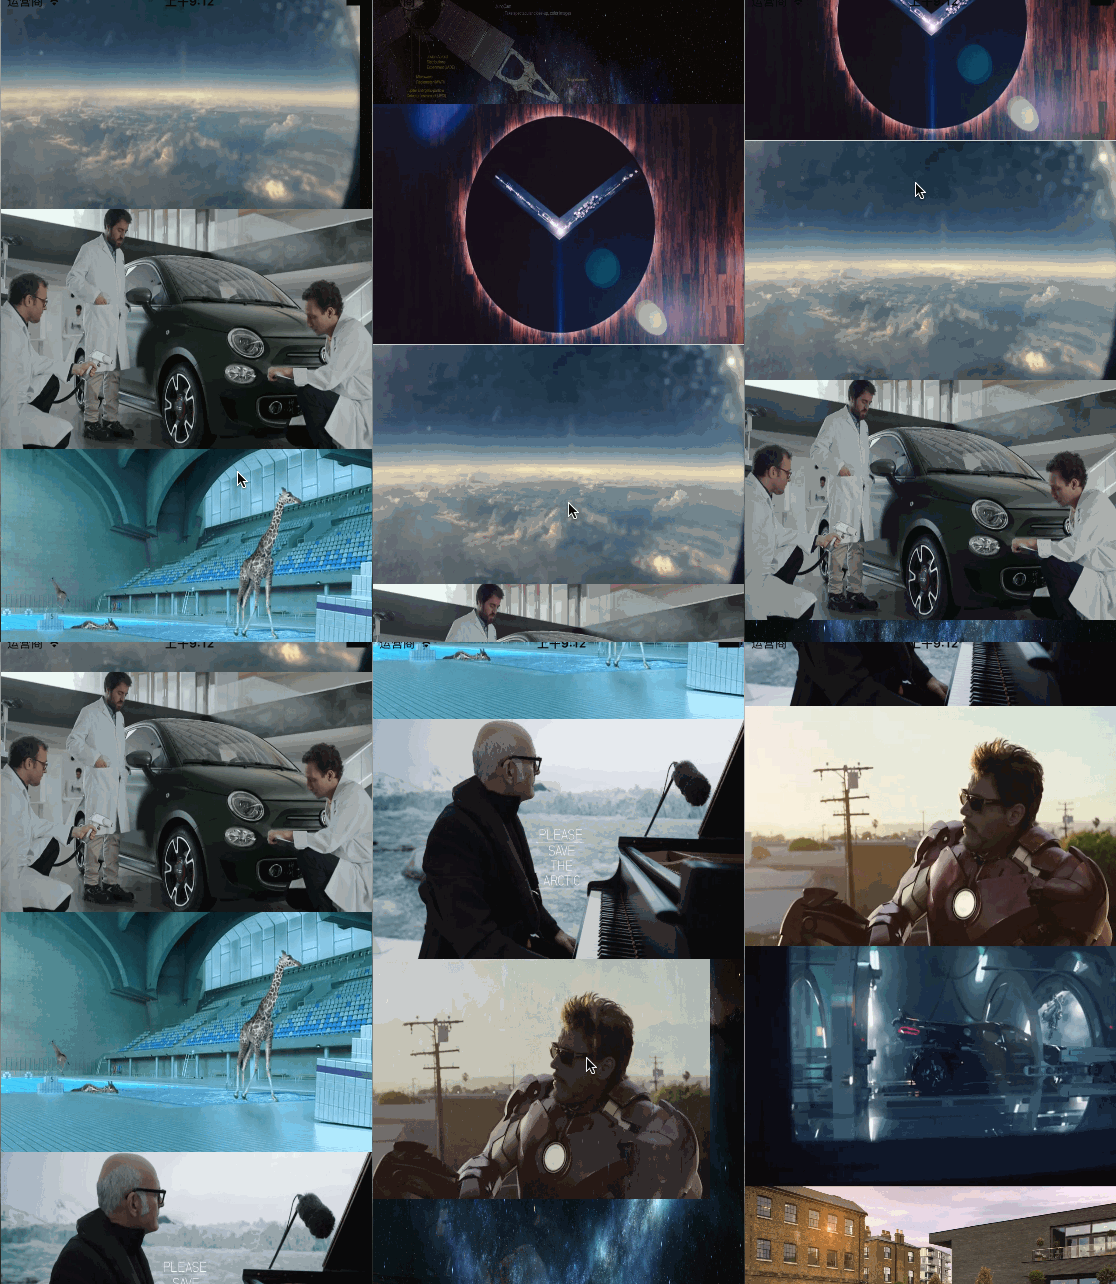
以上都是效果圖1的效果, 再來看看效果圖2和3:
下面的代碼實現是獨立的, 跟效果圖1完全是分開實現的, 大家可以拿出去單獨使用!
- (void)tableView:(UITableView *)tableView willDisplayCell:(UITableViewCell *)cell forRowAtIndexPath:(NSIndexPath *)indexPath
{
        CATransform3D transform = CATransform3DIdentity;
        transform = CATransform3DRotate(transform, 0, 0, 0, 1);//漸變
        transform = CATransform3DTranslate(transform, -200, 0, 0);//左邊水平移動
//        transform = CATransform3DScale(transform, 0, 0, 0);//由小變大
        cell.layer.transform = transform;
        cell.layer.opacity = 0.0;
        [UIView animateWithDuration:0.6 animations:^{
            cell.layer.transform = CATransform3DIdentity;
            cell.layer.opacity = 1;
        }];
}
相關文章: iOS TableView滾動時的視覺差效果
看起來還是很簡單的, 如果喜歡的小伙伴請點一個贊吧,歡迎留言補充與給出不足之處!
相關文章
+


