iOS - 毛玻璃效果
編輯:IOS開發綜合
iOS8之後蘋果提供了制作毛玻璃效果的API
就是這個UIVisualEffectView,用這個initWithEffect:去初始化,然後呢,他有兩種效果繼承自UIVisualEffect。這個父類不用管,什麼也不做,主要看他的兩個子類UIBlurEffect和UIVibrancyEffect。
UIBlurEffect : 這個是影響毛玻璃後面視圖的
效果圖:
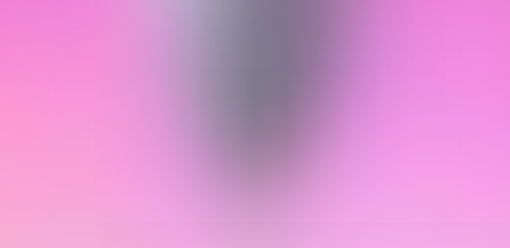
UIVibrancyEffect : 這個是影響毛玻璃上的視圖的

是不是很漂亮,做起來也不難呢。
先說毛玻璃下面的效果的做法。
你先初始化一個UIBlurEffect對象,他有三種風格
typedef NS_ENUM(NSInteger, UIBlurEffectStyle) {
UIBlurEffectStyleExtraLight,
UIBlurEffectStyleLight,
UIBlurEffectStyleDark
}
上面的效果都是用UIBlurEffectStyleLight做出來的
UIBlurEffectStyleExtraLight效果如下
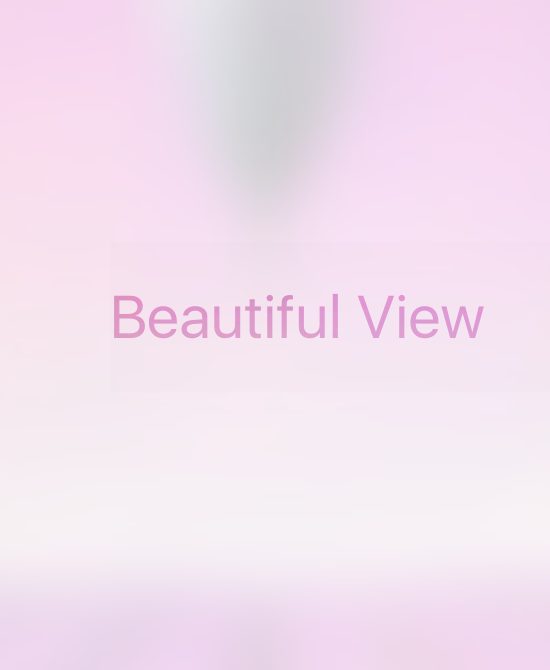
UIBlurEffectStyleDark效果如下
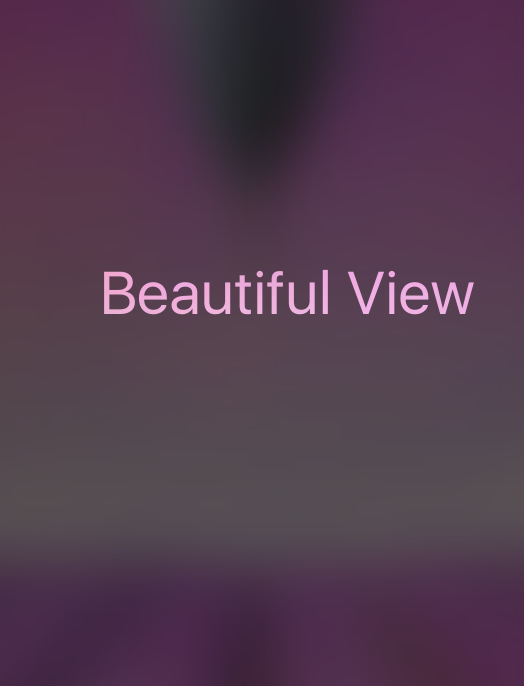
然後呢用這個UIBlurEffect對象創建一個UIVisualEffectView對象。用你需要被虛化的視圖添加這個UIVisualEffectView對象為子視圖就可以了。
接著說毛玻璃上面的效果
創建一個UIVibrancyEffect對象,用之前創建的blur去初始化,然後創建一個UIVisualEffectView對象,用這個UIVibrancyEffect對象初始化,最後將你想要添加的子視圖添加到UIVisualEffectView的contentView上就可以了。
完整代碼如下:
// UIBlurEffect效果
UIImageView *imageView = [[UIImageView alloc] initWithFrame:self.view.frame];
imageView.image = [UIImage imageNamed:@"pic"];
UIBlurEffect *blur = [UIBlurEffect effectWithStyle:UIBlurEffectStyleLight];
UIVisualEffectView *ev = [[UIVisualEffectView alloc] initWithEffect:blur];
ev.frame = self.view.frame;
[imageView addSubview:ev];

// UIVibrancyEffect效果
UIVibrancyEffect *vibrancyEffect = [UIVibrancyEffect effectForBlurEffect:blur];
UIVisualEffectView *ano = [[UIVisualEffectView alloc] initWithEffect:vibrancyEffect];
ano.frame = self.view.frame;

UILabel *label = [[UILabel alloc] init];
label.font = [UIFont systemFontOfSize:40];
label.frame = CGRectMake(100, 100, 400, 100);
label.text = @"Beautiful View";
[ev.contentView addSubview:ano];
[ano.contentView addSubview:label];

[self.view addSubview:imageView];
相關文章
+

