iOS項目開發實戰——學會使用TableView列表控件(二)
編輯:IOS開發綜合
要在iOS開發中使用TableView列表控件,不僅可以直接使用TableViewController作為整個主界面,而且還可以使用TableView控件來實現。使用TableView可以進行更多的自定義,滿足更多的需求。在開發中較為常用。具體實現如下:
(1)新建一個Single View Controller項目,語言選擇Swift,然後在Main.storyboard中拖入一個TableView控件。此時看起來整個設計界面就和TableViewController創建的一樣了。
然後在右側的Prototype Cells中選擇1,我們使用這個cell來進行設計。並在Cell中再拖入一個Label,設置這個Label的tag=101,當然這個tag值可以自己設置,在一個cell中的不同控件tag值不同就好了。
(2)把這個界面的Class值輸入ViewController。
(3)在代碼中ViewController實現一個Protocol,UITableViewDataSource,然後以下的2個方法必須要進行實現。
 func tableView(tableView: UITableView, numberOfRowsInSection section: Int) -> Int


 func tableView(tableView: UITableView, cellForRowAtIndexPath indexPath: NSIndexPath) -> UITableViewCell
(4)注意:這一步大家很容易忘記,就是把當前的這個TableView控件綁定到DataSource。這一步有兩種方法:
1】綁定TableView控件到代碼中,然後實現self.DataSource = self
2】簡便方法,直接在storyboard中右擊TableView,拖動到ViewController中,此時會出現dataSource,delegate.選中dataSource即可。
(5)設置剛才生成的Prototype Cells的ID,任意字符串都可,我設為cell。
(6)代碼中實現如下:
  func tableView(tableView: UITableView, numberOfRowsInSection section: Int) -> Int {
    return 3
  }

  func tableView(tableView: UITableView, cellForRowAtIndexPath indexPath: NSIndexPath) -> UITableViewCell {

    let cell = tableView.dequeueReusableCellWithIdentifier(cell) as! UITableViewCell

    var title = cell.viewWithTag(101) as! UILabel
    title.text = Hello ,Swift

    return cell

  }
(7)運行程序,效果如下:
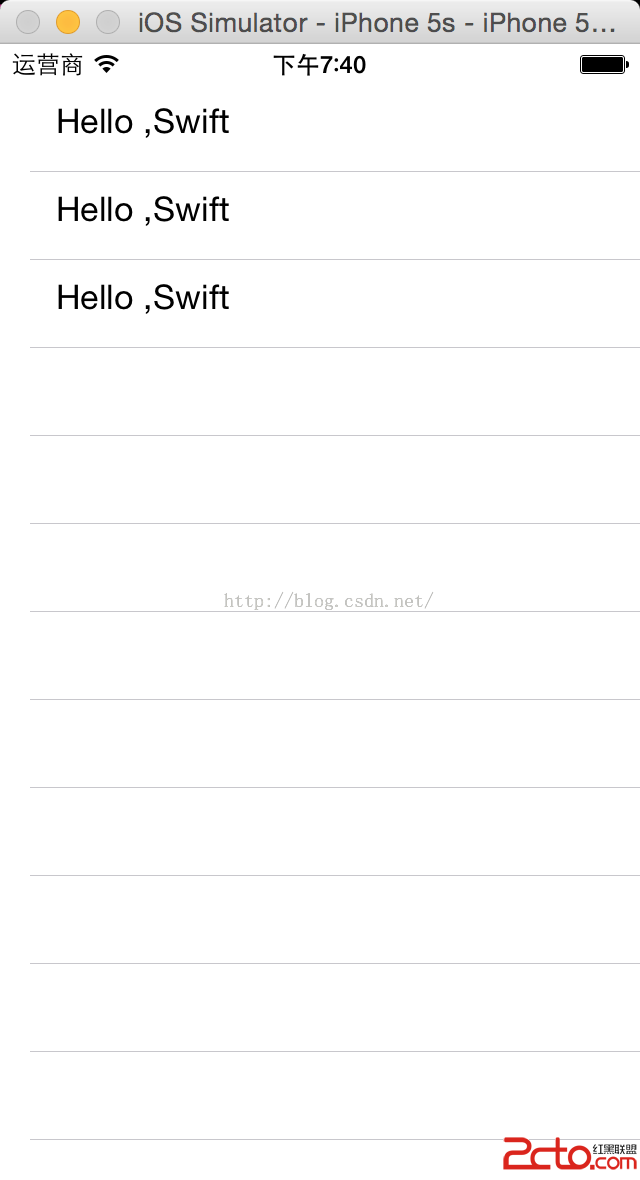 。
。
(8)但是有沒有辦法在cell中設置不同的文字呢,這是可以的,我只要聲明一個數組,然後不同的cell就可以進行讀取,實現代碼如下:
import UIKit

class ViewController: UIViewController ,UITableViewDataSource{


  var array:[String] = [Hello,iOS,Swift]

  override func viewDidLoad() {
    super.viewDidLoad()
    // Do any additional setup after loading the view, typically from a nib.

  }


  func tableView(tableView: UITableView, numberOfRowsInSection section: Int) -> Int {
    return 3
  }

  func tableView(tableView: UITableView, cellForRowAtIndexPath indexPath: NSIndexPath) -> UITableViewCell {

    let cell = tableView.dequeueReusableCellWithIdentifier(cell) as! UITableViewCell

    var title = cell.viewWithTag(101) as! UILabel
    title.text = array[indexPath.row]

    return cell

  }


}
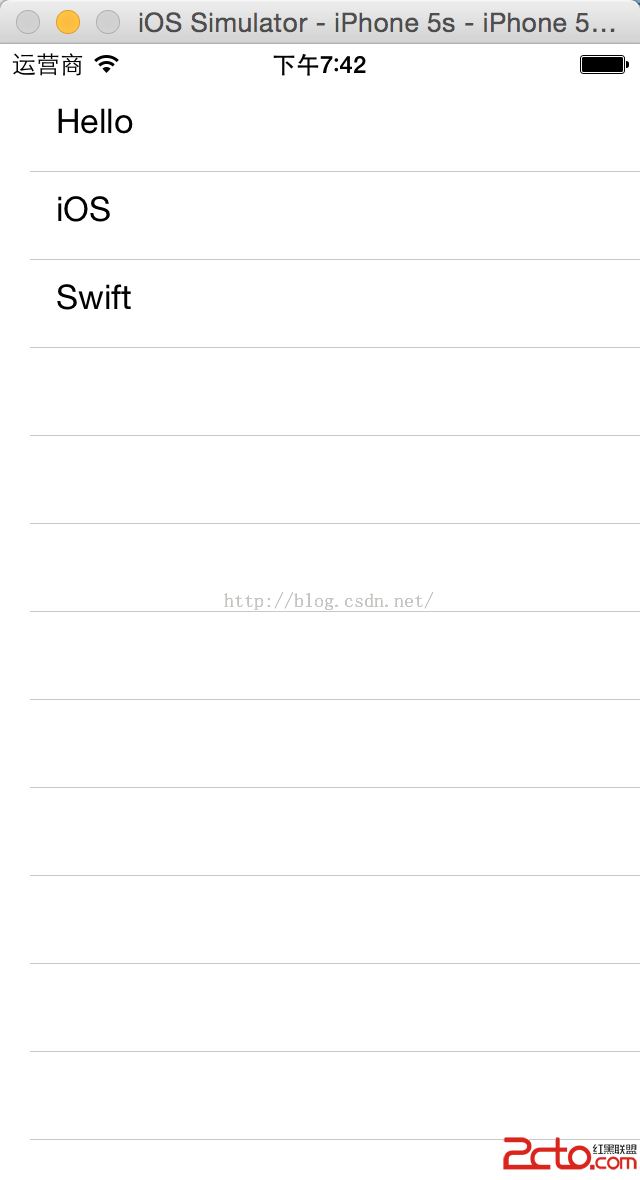
(9)實現效果如下:
相關文章
+
