iOS開發中簡單實用的幾個小技巧
編輯:IOS開發綜合
前言
本文記錄了在iOS開發過程中所遇到的小知識點,以及一些技巧,下面話不多說,來看看詳細的介紹。
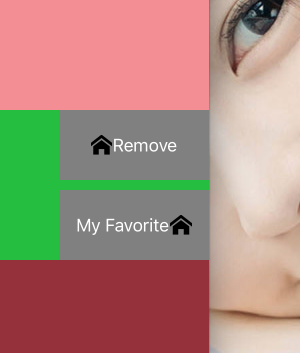
技巧1:UIButton圖片與文字默認是左右排列,如何實現右左排列?
解決技巧:
button.transform = CGAffineTransformMakeScale(-1.0, 1.0);
button.titleLabel.transform = CGAffineTransformMakeScale(-1.0, 1.0);
button.imageView.transform = CGAffineTransformMakeScale(-1.0, 1.0);
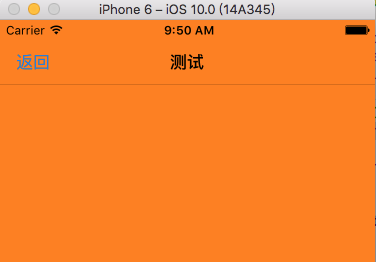
技巧2:設置導航欄透明,title與BarButtonItem不透明
[self.navigationController.navigationBar setBackgroundImage:[UIImage new] forBarMetrics:UIBarMetricsDefault];

self.navigationController.navigationBar.translucent = YES;
技巧3:設置導航欄無邊框
self.navigationController.navigationBar.shadowImage = [UIImage new];
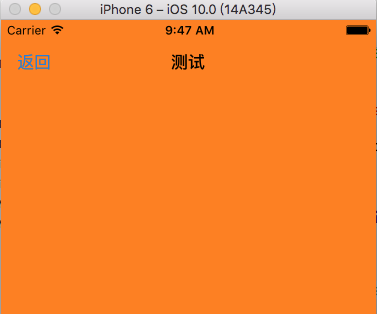
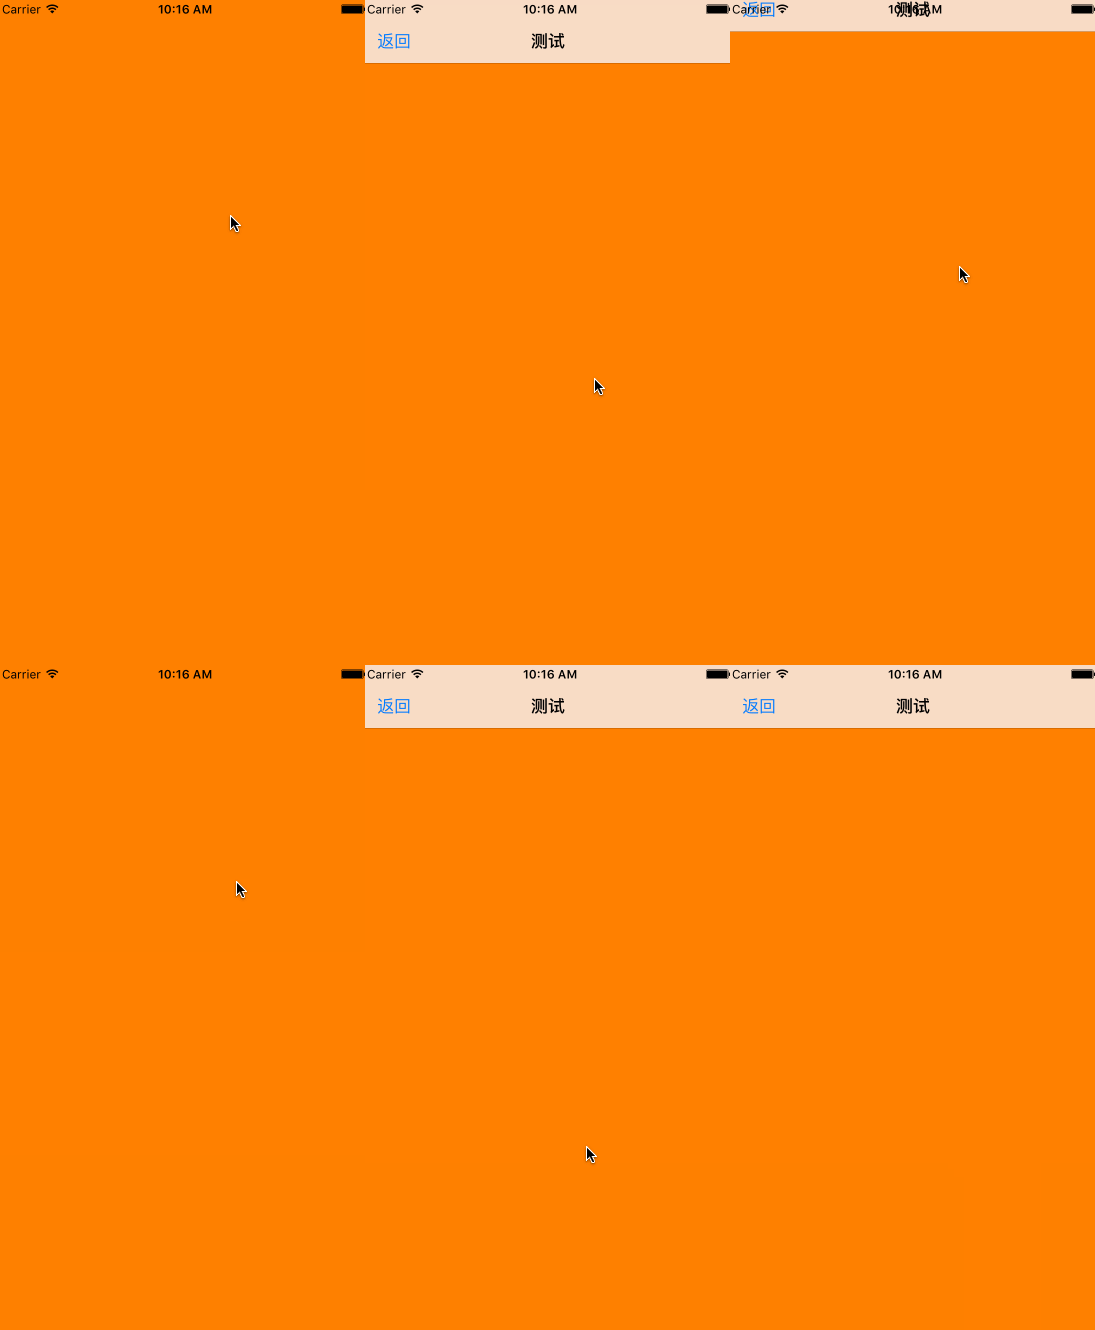
技巧4: 隨視圖的滾動導航欄隱藏與顯示(一句代碼即可)
self.navigationController.hidesBarsOnSwipe = Yes;
技巧5:簡單好用的獲取當前時間戳
 //時間戳
 time_t now;
 time(&now);
 NSLog(@"---%ld",now);

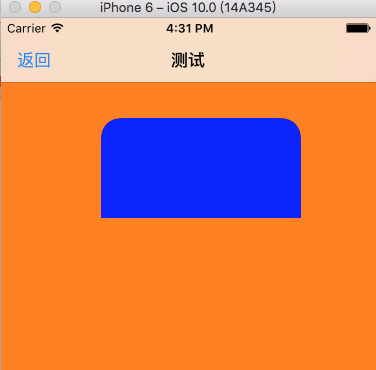
技巧6:只設置UIView的左上角和右上角的圓角 (四個圓角位置都可以選擇)
 UIView *blueView = [[UIView alloc] initWithFrame:CGRectMake(100, 100, 200, 100)];
 blueView.backgroundColor = [UIColor blueColor];
 [self.view addSubview: blueView];
 /*設置圓角位置的枚舉參數
  UIRectCornerTopLeft  = 1 << 0,
  UIRectCornerTopRight = 1 << 1,
  UIRectCornerBottomLeft = 1 << 2,
  UIRectCornerBottomRight = 1 << 3,
  UIRectCornerAllCorners = ~0UL
  */
 UIBezierPath *maskPath = [UIBezierPath bezierPathWithRoundedRect:blueView.bounds byRoundingCorners:(UIRectCornerTopLeft|UIRectCornerTopRight) cornerRadii:CGSizeMake(20.0, 20.0)];
 CAShapeLayer *maskLayer = [CAShapeLayer layer];
 maskLayer.frame = blueView.bounds;
 maskLayer.path = maskPath.CGPath;
 blueView.layer.mask = maskLayer;
技巧7: 加載UIWebView後禁止用戶復制剪切
// 控制器實現此方法
- (BOOL)canPerformAction:(SEL)action withSender:(id)sender
{
 if (action == @selector(copy:) ||
  action == @selector(paste:)||
  action == @selector(cut:))
 {
  return NO;
 }
 return [super canPerformAction:action withSender:sender];
}
技巧8:跳轉控制器隱藏tabbar一個一勞永逸的方法
// 創建一個Nav基類 重寫pushViewController:方法 如下:
-(void)pushViewController:(UIViewController *)viewController animated:(BOOL)animated {

 viewController.hidesBottomBarWhenPushed = YES;

 [super pushViewController:viewController animated:animated];

}
總結
以上就是這篇文章的全部內容了,希望本文的這些小技巧對各位iOS開發者們能有所幫助,如果有疑問大家可以留言交流。小編還會陸續更新關於iOS相關技巧的文章,請繼續關注本站。
相關文章
+
