iOS App中實現播放音效和音樂功能的簡單示例
播放音效
iOS開發過程中可能會遇到播放音效的功能
其實很簡單,iOS已經提供了一個框架直接負責播放音效 AudioToolbox.framework
新建項目 TestWeChatSounds
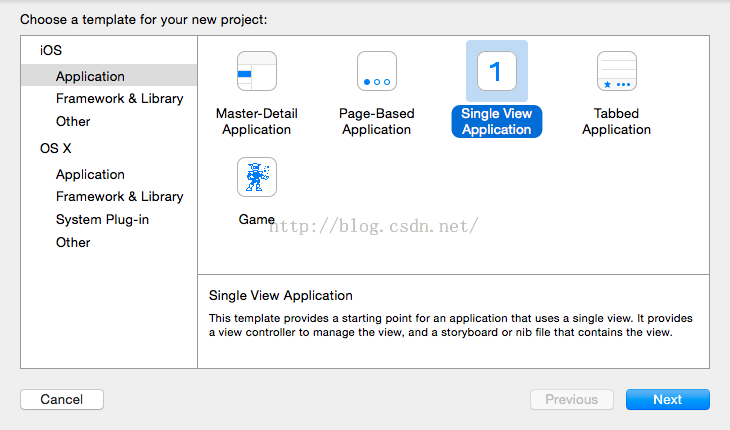
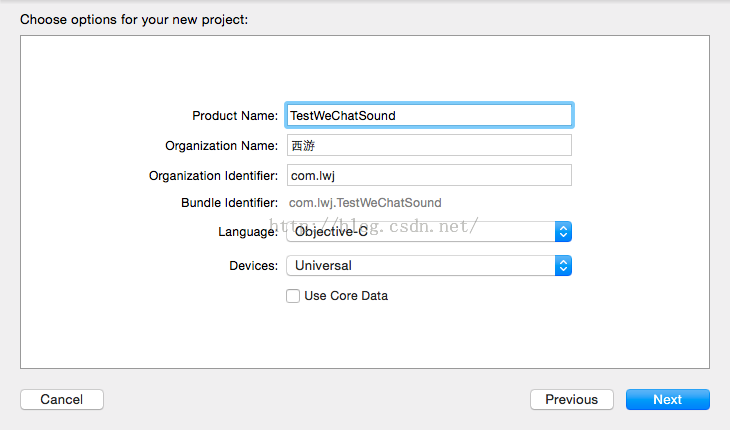
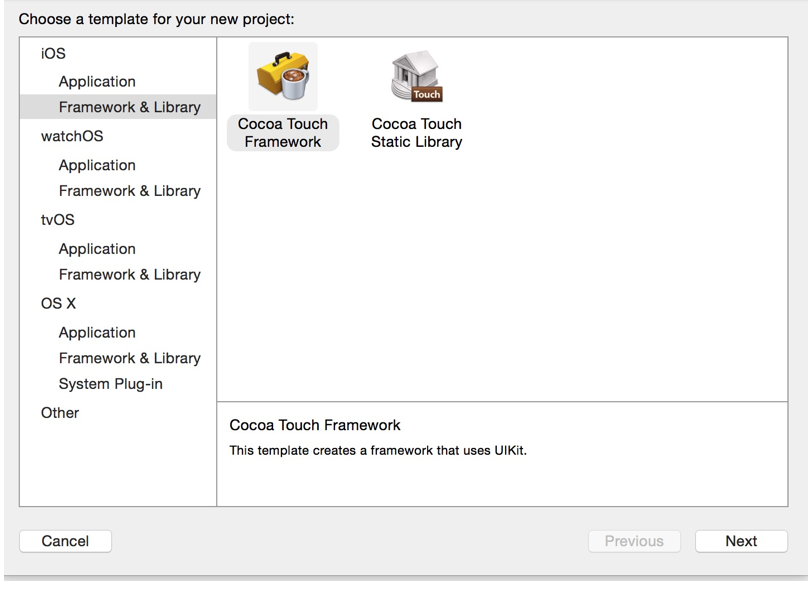
給新建的項目導入AudioToolbox.framework
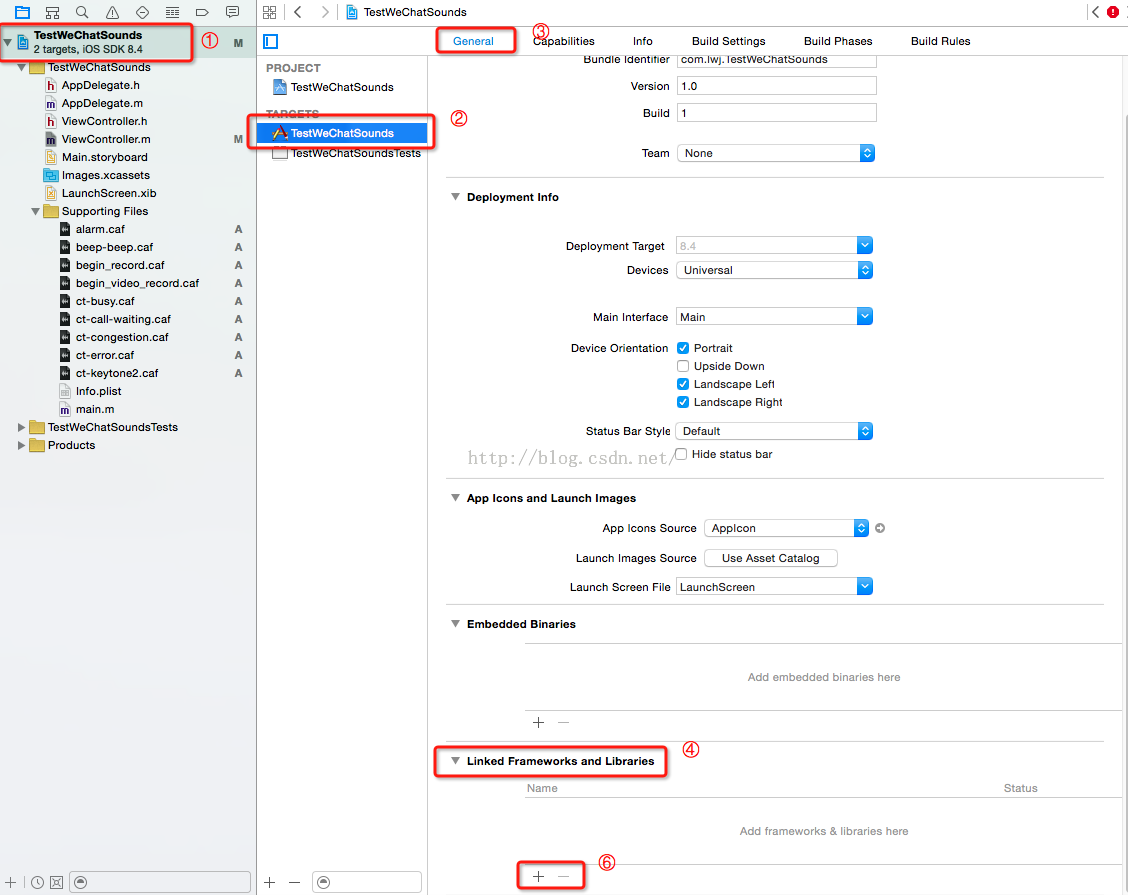
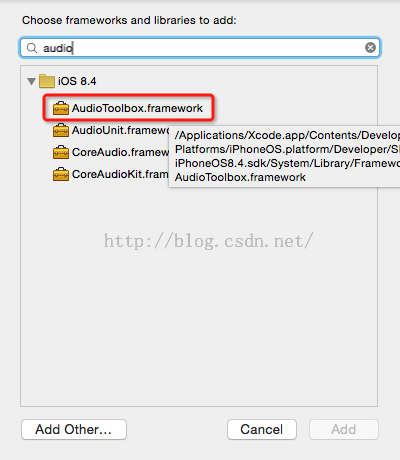
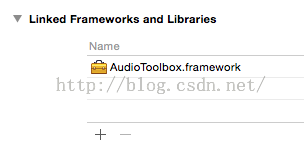
導入成功之後如下圖
項目目錄如下
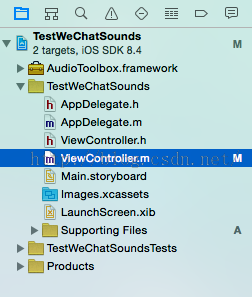
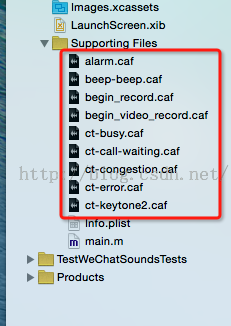
接下來我們給項目中添加幾個caf格式的音效文件
接下來 我們打開 項目默認生成的ViewController中添加代碼
導入 AudioToolbox
復制代碼 代碼如下:
#import <AudioToolbox/AudioToolbox.h>
給View上添加button點擊之後播放音效
復制代碼 代碼如下:
- (void)viewDidLoad {
[super viewDidLoad];
// Do any additional setup after loading the view, typically from a nib.
UIButton *btn1=[[UIButton alloc] initWithFrame:CGRectMake(20, 100, 120, 36)];
[btn1 setTitleColor:[UIColor blackColor] forState:UIControlStateNormal];
[btn1 setTitle:@"警告" forState:UIControlStateNormal];
[btn1 addTarget:self action:@selector(btn1Act) forControlEvents:UIControlEventTouchUpInside];
[self.view addSubview:btn1];
UIButton *btn2=[[UIButton alloc] initWithFrame:CGRectMake(20, 150, 120, 36)];
[btn2 setTitleColor:[UIColor blackColor] forState:UIControlStateNormal];
[btn2 setTitle:@"錯誤" forState:UIControlStateNormal];
[btn2 addTarget:self action:@selector(btn2Act) forControlEvents:UIControlEventTouchUpInside];
[self.view addSubview:btn2];
}
實現播放效果
復制代碼 代碼如下:
-(void)btn1Act {
[self playSoundEffect:@"alarm.caf"];
}
-(void)btn2Act {
[self playSoundEffect:@"ct-error.caf"];
}
-(void)playSoundEffect:(NSString *)name{
NSString *audioFile=[[NSBundle mainBundle] pathForResource:name ofType:nil];
NSURL *fileUrl=[NSURL fileURLWithPath:audioFile];
//1.獲得系統聲音ID
SystemSoundID soundID=0;
/**
* inFileUrl:音頻文件url
* outSystemSoundID:聲音id(此函數會將音效文件加入到系統音頻服務中並返回一個長整形ID)
*/
AudioServicesCreateSystemSoundID((__bridge CFURLRef)(fileUrl), &soundID);
//如果需要在播放完之後執行某些操作,可以調用如下方法注冊一個播放完成回調函數
AudioServicesAddSystemSoundCompletion(soundID, NULL, NULL, soundCompleteCallback, NULL);
//2.播放音頻
AudioServicesPlaySystemSound(soundID);//播放音效
// AudioServicesPlayAlertSound(soundID);//播放音效並震動
}
void soundCompleteCallback(SystemSoundID soundID,voidvoid * clientData){
NSLog(@"播放完成...");
}
代碼部分截圖
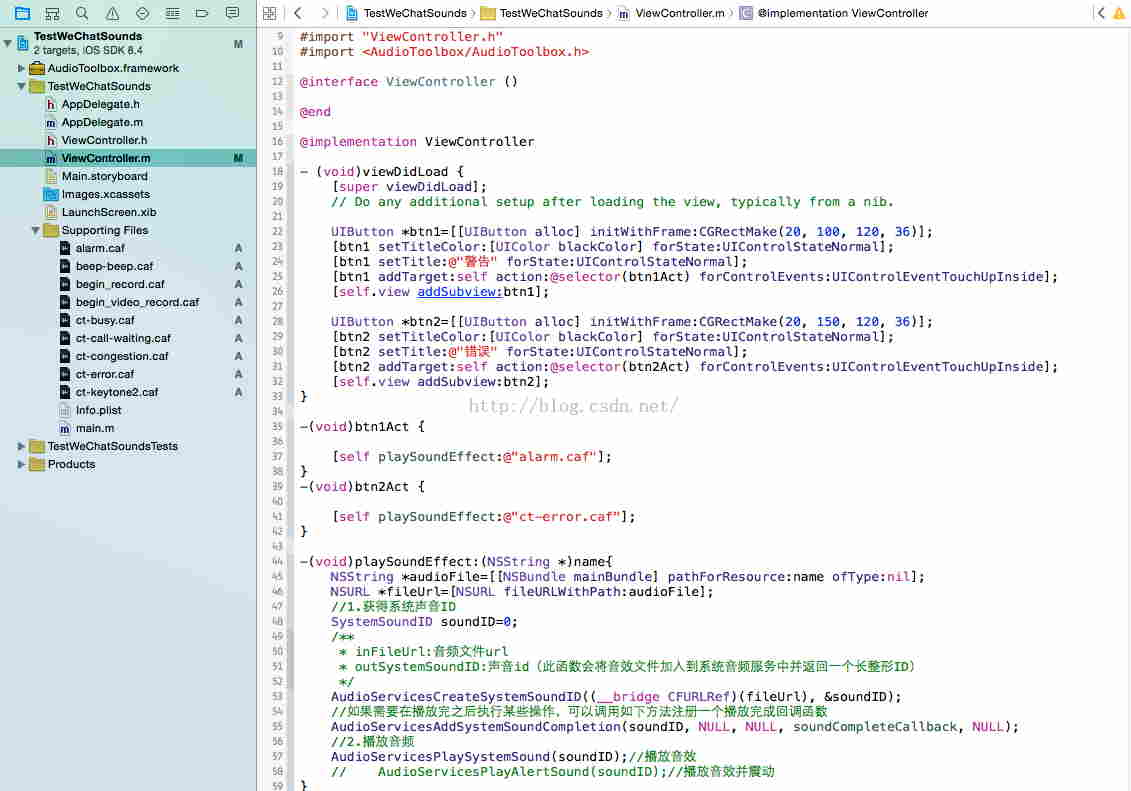
好了播放音效基本實現 。
播放音樂
我們同樣使用蘋果提供的框架 AVFoundation.framework
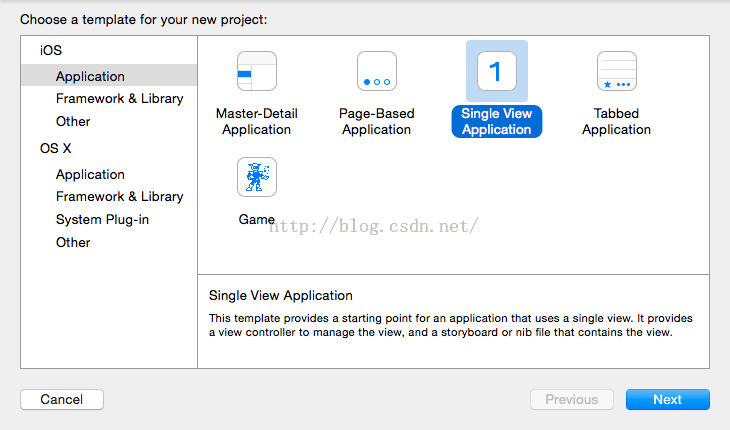
首先,新建項目
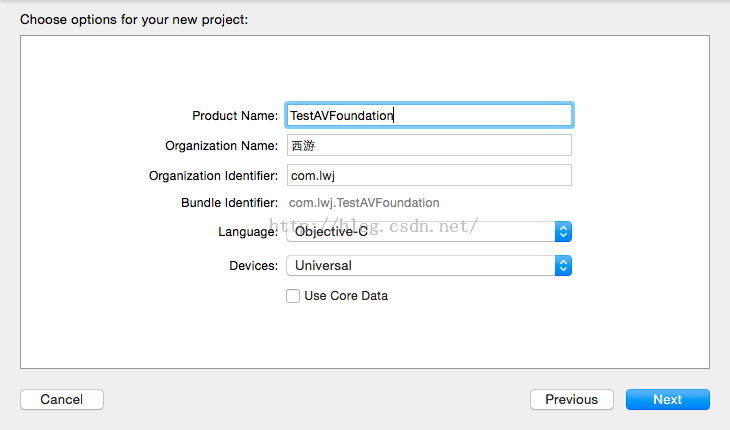
給項目起名: TestAVGoundation
接下來導入framework
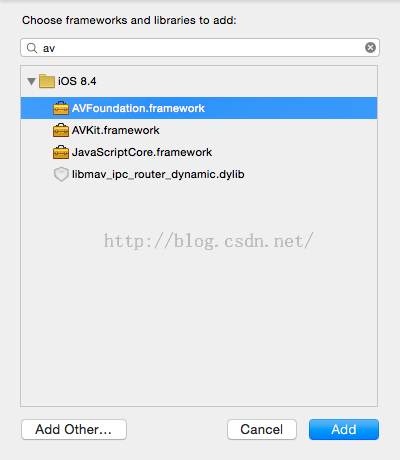
導入成功之後如下
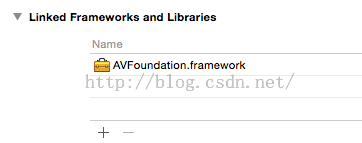
項目結構
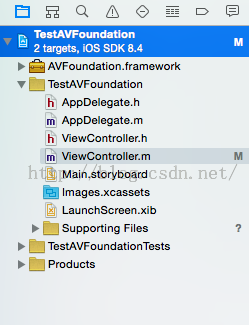
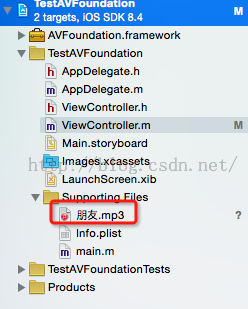
開始寫代碼之前,我們找一首歌曲放到項目中
這裡我們放一首比較經典的歌曲 周華健的 朋友
同樣我們還是打開項目默認生成的ViewController.m 在裡面添加播放功能
首先,導入頭文件
復制代碼 代碼如下:
#import <AVFoundation/AVFoundation.h>
接下來,創建個控件
復制代碼 代碼如下:
@property (nonatomic,strong) AVAudioPlayer *audioPlayer;//播放器
@property (strong, nonatomic) UIProgressView *playProgress;//播放進度
@property (strong, nonatomic) UIButton *playOrPause; //播放/暫停按鈕(如果tag為0認為是暫停狀態,1是播放狀態)
@property (strong ,nonatomic) NSTimer *timer;//進度更新定時器
初始化界面
復制代碼 代碼如下:
- (void)viewDidLoad {
[super viewDidLoad];
// Do any additional setup after loading the view, typically from a nib.
self.view.backgroundColor=[UIColor lightGrayColor];
[self initUserFace];
}
-(void)initUserFace{
//添加playProgress
_playProgress= [[UIProgressView alloc] initWithProgressViewStyle: UIProgressViewStyleDefault];
_playProgress.frame=CGRectMake(0, 100, self.view.bounds.size.width, 36);
[self.view addSubview:_playProgress];
//添加播放按鈕
_playOrPause=[[UIButton alloc]initWithFrame:CGRectMake(0, 150, 120, 36)];
[_playOrPause setTitle:@"播放" forState:UIControlStateNormal];
[_playOrPause setTitleColor:[UIColor blackColor] forState:UIControlStateNormal];
[_playOrPause addTarget:self action:@selector(playOrPauseAct:) forControlEvents:UIControlEventTouchUpInside];
[self.view addSubview:_playOrPause];
}
添加幾個播放,暫停,修改歌曲進度條顯示的方法
復制代碼 代碼如下:
-(NSTimer *)timer{
if (!_timer) {
_timer=[NSTimer scheduledTimerWithTimeInterval:0.5 target:self selector:@selector(updateProgress) userInfo:nil repeats:true];
}
return _timer;
}
-(AVAudioPlayer *)audioPlayer{
if (!_audioPlayer) {
NSString *urlStr=[[NSBundle mainBundle]pathForResource:@"朋友.mp3" ofType:nil];
NSURL *url=[NSURL fileURLWithPath:urlStr];
NSError *error=nil;
//初始化播放器,注意這裡的Url參數只能時文件路徑,不支持HTTP Url
_audioPlayer=[[AVAudioPlayer alloc]initWithContentsOfURL:url error:&error];
//設置播放器屬性
_audioPlayer.numberOfLoops=0;//設置為0不循環
_audioPlayer.delegate=self;
[_audioPlayer prepareToPlay];//加載音頻文件到緩存
if(error){
NSLog(@"初始化播放器過程發生錯誤,錯誤信息:%@",error.localizedDescription);
return nil;
}
}
return _audioPlayer;
}
/**
* 播放音頻
*/
-(void)play{
if (![self.audioPlayer isPlaying]) {
[self.audioPlayer play];
self.timer.fireDate=[NSDate distantPast];//恢復定時器
}
}
/**
* 暫停播放
*/
-(void)pause{
if ([self.audioPlayer isPlaying]) {
[self.audioPlayer pause];
self.timer.fireDate=[NSDate distantFuture];//暫停定時器,注意不能調用invalidate方法,此方法會取消,之後無法恢復
}
}
/**
* 更新播放進度
*/
-(void)updateProgress{
float progress= self.audioPlayer.currentTime /self.audioPlayer.duration;
[self.playProgress setProgress:progress animated:true];
}
#pragma mark - 播放器代理方法
-(void)audioPlayerDidFinishPlaying:(AVAudioPlayer *)player successfully:(BOOL)flag{
NSLog(@"音樂播放完成...");
[_playOrPause setTitle:@"播放" forState:UIControlStateNormal];
}
我們給播放按鈕添加點擊事件
復制代碼 代碼如下:
-(void)playOrPauseAct:(UIButton *)sender{
NSString *strPlay=sender.titleLabel.text;
NSLog(@"strPlay=%@",strPlay);
if ([strPlay isEqualToString:@"播放"]) {
[sender setTitle:@"暫停" forState:UIControlStateNormal];
[self play];
}else{
[sender setTitle:@"播放" forState:UIControlStateNormal];
[self pause];
}
}
好了,到此 我們創建完成 可以運行試試
仔細的朋友可能發現我們的app播放音樂的過程中 如果切換到後台之後發現音樂暫停了 再次打開 又接著播放了
如果想要後台 也可以接著播放音樂 我們需要修改兩個地方
1,打開項目 plist 文件
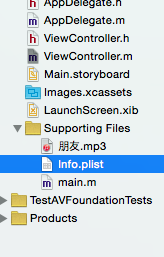
添加一項

2,打開ViewController.m 找到如下方法 添加一段
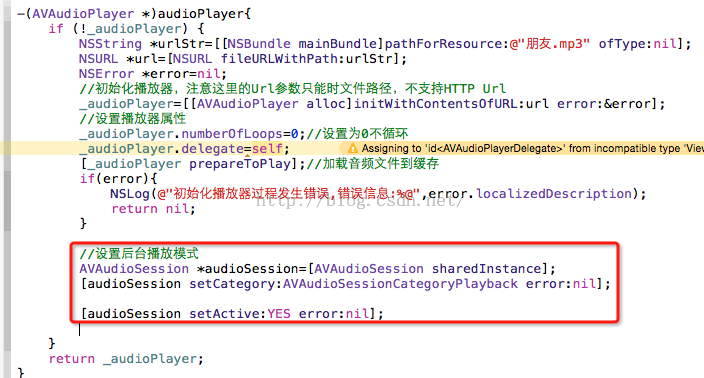
好了 試下後台運行吧~

