ios二維碼掃描插件,適配當前主流掃描軟件,自定義掃描界面。
編輯:關於IOS
二維碼介紹:
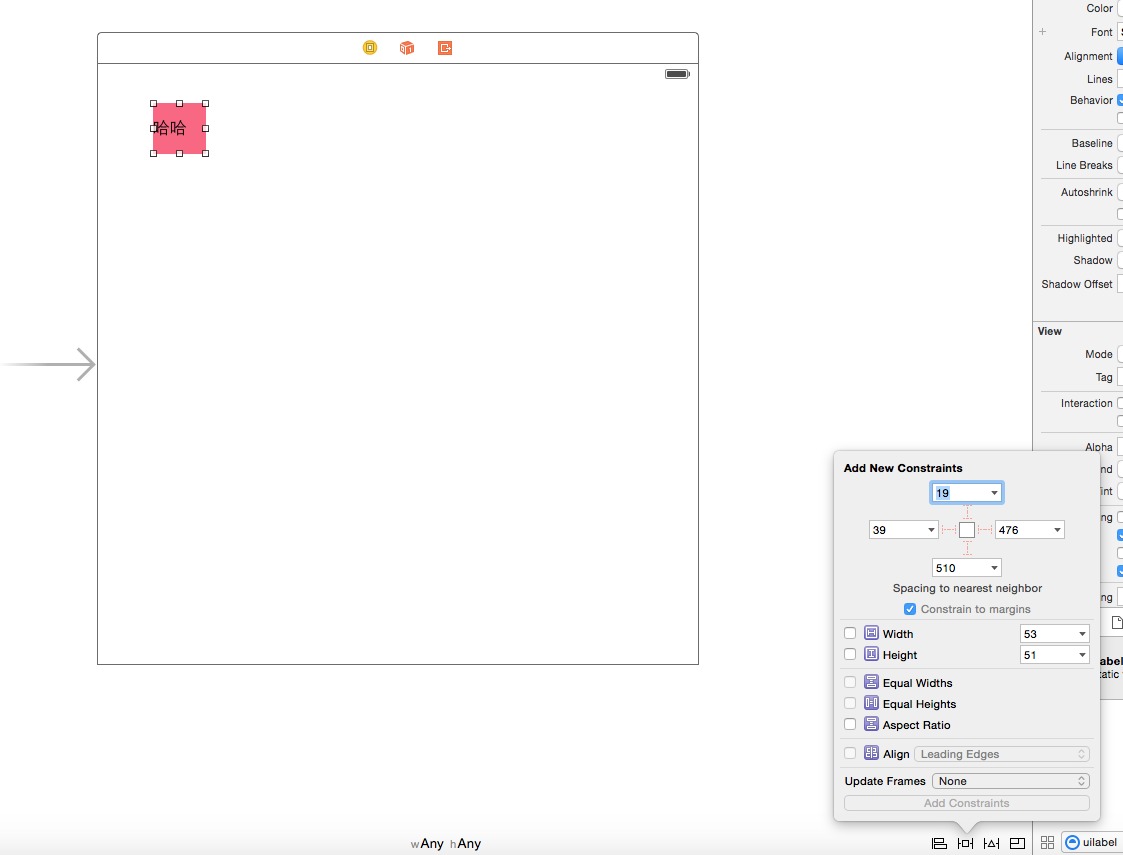
二維碼(QR(Quick Response)code),又稱二維條碼,最早起源於日本。 它是用特定的幾何圖形按一定規律在平面(二維方向)上分布的黑白相間的圖形,是所有信息數據的一把鑰匙。 二維碼是一種比一維碼更高級的條碼格式。一維碼只能在一個方向(一般是水平方向)上表達信息, 而二維碼在水平和垂直方向都可以存儲信息。一維碼只能由數字和字母組成,而二維碼能存儲漢字、數字和圖片等信息, 因此二維碼的應用領域要廣得多。 二維碼需求: 開發一款二維碼掃描插件,具有掃描大眾二維碼的能力,能夠識別二維碼當中包含的網頁鏈接以及文本信息。對網頁鏈接跳轉safari浏覽器(但是對自己公司的連接要求在app內部內置浏覽器)。對掃描的內容彈出提示框。並且讓別的app掃描我們自己的二維碼的時候要跳轉到appstore下載。 需求確認: 二維碼算法自己寫?不現實。開發周期太長,那就使用第三方那個庫QR(Quick Response)code ZBarSDK,讀取信息的時候首先應該判斷是不是網頁連接,考慮用正則表達式對掃描的結果進行過濾。對於內置浏覽器使用webview控件。彈出提示框使用UIAlertView太麻煩,而且不好用,所以采用開源第三方庫BlockAlertActionSheet,BlockAlertActionSheet使用block做的一款具有提示功能類似UIAlertView UIActionSheet等控件。很強大,很實用。 二維碼開發: 首先在github上下載ZBar SDK 地址https://github.com/bmorton/ZBarSDK 下載BlockAlertActionSheet, 新建一個test工程。在Main》storyboard上拖放一個button點擊button開始掃描。 為button連接插座事件。 - (IBAction)btnClicked:(id)sender{ } 將ZBarSDK包含在項目工程當中。添加庫:QuartzCore.framework ,CoreVideo.framework ,CoreMedia.framework,libiconv.dylib,CoreGraphics.framework。 將BlockAlertActionSheet包含在項目工程當中 在 WSQViewController.h中引入頭文件。 #import "ZBarSDK.h" #import "BlockAlertView.h" 遵循協議 ZBarReaderDelegate, #pragma mark - ZBarReaderDelegate<UIImagePickerControllerDelegate> - (void) readerControllerDidFailToRead: (ZBarReaderController*) reader withRetry: (BOOL) retry { } //二維碼 - (void) imagePickerController: (UIImagePickerController*) reader didFinishPickingMediaWithInfo: (NSDictionary*) info { } 定義實例變量: ZBarReaderViewController *reader; UIView* line; //二維碼掃描線。 BOOL isBottom; NSTimer* lineTimer;//二維碼掃描線計時器。 自定義二維碼掃描界面,(想法是這樣的,先把reader原來的界面全部清空,然後自定義界面,因為ZBarSDK是分裝好的靜態庫,) -(void)setOverlayStyle:(ZBarReaderViewController *)reader_{ for (UIView *temp in [reader_.view subviews]){ for (UIButton* btn in [temp subviews]) { if ([btn isKindOfClass:[UIButton class]]) { [btn removeFromSuperview]; } } //去掉toolbar for (UIToolbar* tool in [temp subviews]) { if ([tool isKindOfClass:[UIToolbar class]]) { [tool setHidden:YES]; [tool removeFromSuperview]; } } isBottom = NO; //掃描線 line = [[UIView alloc] initWithFrame:CGRectMake(40, 105, 240, 2)]; line.backgroundColor = [UIColor greenColor]; [reader_.view addSubview:line]; lineTimer = [NSTimer scheduledTimerWithTimeInterval:1.5 target:self selector:@selector(moveLine) userInfo:nil repeats:YES]; [lineTimer fire]; UIImage *scanningBg = [UIImage imageNamed:@"scanning-568h.png"]; CGSize size = [UIScreen mainScreen].bounds.size; UIImageView *scanningView = [[UIImageView alloc] initWithFrame:CGRectMake(0, 0, size.width, size.height)]; scanningView.image = scanningBg; [reader_.view addSubview:scanningView]; //用於取消操作的button UIButton *cancelButton = [UIButton buttonWithType:UIButtonTypeRoundedRect]; UIImage *bimage = [UIImage imageNamed:@"yellowButton.png"]; //[cancelButton setBackgroundImage:bimage forState:UIControlStateDisabled]; [cancelButton setBackgroundColor:[UIColor whiteColor]]; [cancelButton setTitleColor:[UIColor orangeColor] forState:UIControlStateNormal]; [cancelButton setFrame:CGRectMake(20, size.height - 84, 280, 40)]; [cancelButton setTitle:@"取消" forState:UIControlStateNormal]; [cancelButton.titleLabel setFont:[UIFont boldSystemFontOfSize:20]]; [cancelButton addTarget:self action:@selector(dismissOverlayView:)forControlEvents:UIControlEventTouchUpInside]; [reader_.view addSubview:cancelButton]; } } //屏幕移動掃描線。 -(void)moveLine{ CGRect lineFrame = line.frame; CGFloat y = lineFrame.origin.y; if (!isBottom) { isBottom = YES; y=y+245.0; lineFrame.origin.y = y; [UIView animateWithDuration:1.5 animations:^{ line.frame = lineFrame; }]; }else if(isBottom){ isBottom = NO; y = y -245; lineFrame.origin.y = y; [UIView animateWithDuration:1.5 animations:^{ line.frame = lineFrame; }]; } } // 點擊cancel button事件 - (void)dismissOverlayView:(id)sender{ [lineTimer invalidate]; [reader dismissModalViewControllerAnimated:YES]; } 接下來在viewdidload中初始化 reader - (void)viewDidLoad { [super viewDidLoad]; reader = [ZBarReaderViewController new]; reader.readerDelegate = self; reader.wantsFullScreenLayout = NO; //隱藏底部控制按鈕 reader.showsZBarControls = NO; [self setOverlayStyle:reader];// ZBarImageScanner *scanner = reader.scanner; [scanner setSymbology: ZBAR_I25 config: ZBAR_CFG_ENABLE to: 0]; } 在button事件中添加跳轉到掃描界面的代碼。 - (IBAction)btnClicked:(id)sender { [self presentViewController:reader animated:YES completion:Nil]; } 定義內置留言器 WebViewVC.h,拖拽一個uiwebview連接插座變量 aWebView。將uiwebview的delegate設置為self WebViewVC.h遵循協議 UIWebViewDelegate, 在 WebViewVC.h定義全局變量:@property (nonatomic,retain) NSString* urlStr; 在 WebViewVC.h的viewDidLoad加載網頁。 - (void)viewDidLoad { [super viewDidLoad]; if (self.urlStr && [self.urlStr rangeOfString:@"http:"].length>0) { NSLog(@"%@",self.urlStr); NSURL *url =[NSURL URLWithString:self.urlStr]; NSLog(@"open web with:%@",url); NSURLRequest *request =[NSURLRequest requestWithURL:url]; _aWebView = [[UIWebView alloc]initWithFrame:self.view.frame]; _aWebView.delegate =self; [self.view addSubview:_aWebView]; [_aWebView loadRequest:request]; } } 最後再WSQViewController.h中處理掃描結果。 在- (void) imagePickerController: (UIImagePickerController*) reader didFinishPickingMediaWithInfo: (NSDictionary*) info做掃描結果的判斷: #pragma mark - ZBarReaderDelegate<UIImagePickerControllerDelegate> - (void) readerControllerDidFailToRead: (ZBarReaderController*) reader withRetry: (BOOL) retry { BlockAlertView *bAlert = [BlockAlertView alertWithTitle:@"結果:" message:@"掃描失敗,無法讀取二維碼信息"]; [bAlert addButtonWithTitle:@"知道了" block:nil]; [bAlert show]; } //二維碼 - (void) imagePickerController: (UIImagePickerController*) reader didFinishPickingMediaWithInfo: (NSDictionary*) info { // ADD: get the decode results id<NSFastEnumeration> results = [info objectForKey: ZBarReaderControllerResults]; ZBarSymbol *symbol = nil; for(symbol in results) break; if(symbol.data && [symbol.data rangeOfString:@"http:"].length > 0) { NSString *regex = @"http+:[^//s]*"; NSPredicate *predicate = [NSPredicate predicateWithFormat:@"SELF MATCHES %@",regex]; //正則表達式判斷是否包含 http: if ([predicate evaluateWithObject:symbol.data]) { //判斷是不是我們自己的二維碼 if ([symbol.data rangeOfString:@"http://itunes.apple.com/cn/app/id794862904"].length>0&& [[symbol.data componentsSeparatedByString:@"?"] count]>1) { NSString* strUrl =symbol.data; WebViewVC* web = [[WebViewVC alloc] initWithNibName:@"WebViewVC" bundle:nil]; web.urlStr = strUrl; NSLog(@"strurl = %@",strUrl); UINavigationController* navi = [[UINavigationController alloc] initWithRootViewController:web]; [reader presentViewController:navi animated:YES completion:nil]; }else{ [[UIApplication sharedApplication] openURL: [NSURL URLWithString:symbol.data]]; } }else{ //不是網頁鏈接的情況。 NSString* msgBody = [symbol.data stringByReplacingPercentEscapesUsingEncoding:NSUTF8StringEncoding]; BlockAlertView *bAlert = [BlockAlertView alertWithTitle:@"結果:" message:msgBody]; [bAlert addButtonWithTitle:@"知道了" block:nil]; [bAlert show]; } }else if ([symbol.data rangeOfString:@"@@"].length > 0){ NSArray* array = [symbol.data componentsSeparatedByString:@"@@"]; NSLog(@"ARRAY = %@",array); if (array && [array count]>0) { NSString *msg = [NSString stringWithFormat:@"",[array description]]; BlockAlertView *bAlert = [BlockAlertView alertWithTitle:@"結果:" message:msg]; NSMutableString* strBody = [[NSMutableString alloc] initWithCapacity:3]; for (NSString* str in array) { NSArray* tempArray = [str componentsSeparatedByString:@"["]; if (tempArray&& [tempArray count]>0) { NSString* key = [tempArray objectAtIndex:0]; NSString* valueStr = [tempArray objectAtIndex:1]; NSString* value = [[valueStr componentsSeparatedByString:@"]"] objectAtIndex:0]; if ([key isEqualToString:@"url"]) { [bAlert setCancelButtonWithTitle:@"打開網頁" block:^{ //在這裡打開網頁 //[[UIApplication sharedApplication] openURL:[NSURL URLWithString: value]]; [self openWebViewOf:value]; }]; } else if([key isEqualToString:@"tel"]){ [bAlert setCancelButtonWithTitle:@"打電話" block:^{ //在這裡打開網頁 NSString* strTel = [NSString stringWithFormat:@"tel://%@",value]; [[UIApplication sharedApplication] openURL:[NSURL URLWithString:strTel]]; }]; } } } [bAlert show]; } } //[reader dismissViewControllerAnimated:YES completion:nil]; } 注: 打開appstore下載app有兩中方式。 第一種: itms-apps://ax/itunes.apple.com/WebObjects/MZStore.woa/wa/viewContentsUserReViews?type=Purpe+Software&id=794862904?mt=8" 第二種: itms-apps://itunes.apple.com/cn/app/id794862904?url=http://xyk.cebbank.com, 為了騙過第三方的掃描軟件,比如,微信,淘寶,那麼必須在連接中加上 http:// 這樣才行。 將第一種方式改成。 http://ax/itunes.apple.com/WebObjects/MZStore.woa/wa/viewContentsUserReViews?type=Purpe+Software&id=794862904?mt=8"在微信中還是不跳。 那麼就采用第二種方式。 http://itunes.apple.com/cn/app/id794862904?url=http://xyk.cebbank.com 這樣的話就很容易的解決了微信掃一掃跳轉的問題了, 最開始,我甚至使用的一個網頁連接,然後在打開網頁的時候讓網頁重定向,但是微信死活就是不跳轉,但是我又發現攜程網的app二維碼也是這種方式,攜程可以跳,讓我糾結了半天。最後查看攜程的跳轉連接。發現它總共跳轉了四次如下, http://m.ctrip.com/m/c3, http://m.ctrip.com/market/download.aspx?from=c3, http://itunes.apple.com/cn/app/id379395415?mt=8, itms-apps://itunes.apple.com/cn/app/id379395415?mt=8, 以我目前的情況是沒時間搞它了,不知道有沒有大牛給解答一下。 最後附上我寫的html跳轉頁面。 <!DOCTYPE html"> <html> <body> <script type="text/javascript"> window.location = "mqq:open"; window.location="itms-apps://itunes.apple.com/cn/app/794862904?mt=8"; </script> <lable> 是事實上是 </lable> </body> </html>相關文章
+


